Part 4 - 3D Printing Your Design
The CBM Jmol Training Guide
Introduction
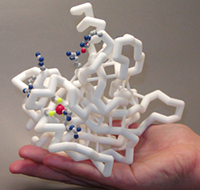
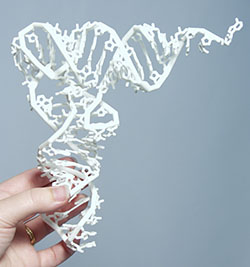
The most fascinating final product that Jmol can produce is a 3D printed physical model. A physical model can make the abstract molecular world real and tangible.
Below is a short video that describes why the CBM considers physical models to be the cornerstone of our outreach and professional development programs.
3D Printing is a cutting edge technology that can use stacked serial planes to build physical 3-dimensional models from computer generated 3D files. Every physical protein model will go through four key steps:

Adding Support Struts

When a model is built on a 3D printer, additional support struts must be added to the protein backbone to provide stability. Struts can be automatically added using the calculate struts command.
This command will only add struts to the currently selected area of a molecular structure, so you should make sure to have "all atoms" selected before adding the struts. We also suggest using a subtle color like white or gray for your struts so they are not visually overwhelming, and recommend a size of 0.75 angstroms, which compliments a backbone of 1.25 angstroms.
The basic commands used to add and format struts are similar to the commands used to format a hydrogen or disulfide bonds:
select all
calculate struts
struts 0.75
color struts gray
Adding and Removing Individual Struts
At times you may want to add a single strut at a precise location, perhaps to provide additional support to your design for 3D printing or to connect a small molecule that may otherwise not be connected to the protein backbone.
To do this, you will need to select only the two atoms that you want the strut to connect. Begin by hovering your mouse cursor over the two atoms in the Jmol display window to identify their atom numbers. Then select only those two atoms using the select @ command. And finally, use the connect strut command to add a strut or the connect strut delete command to remove a strut.
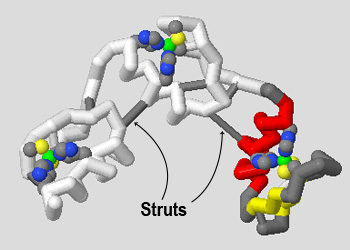
For example, our 1zaa.pdb zinc finger structure has three repeating motifs that are connected by two thin strands of protein backbone. This would be a good spot to add two additional struts to make the 3D printed model more sturdy:
select @810 or @621
connect strut
select @860 or @1033
connect strut
select all
strut 0.75
color strut gray
Note: The calculate struts command will add struts to any protein backbone regions selected in a molecular structure file, but does not add struts to nucleic acids (DNA and RNA) or to small molecules. If there are nucleic acids or small molecules in your model design, you will have to manually add individual struts to connect them to your protein backbone.
Checking Your Design
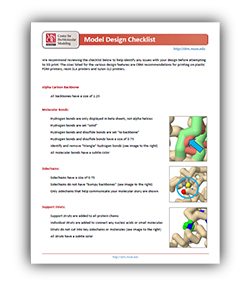
The CBM has created a simple checklist that can help you prepare to 3D print your protein model. The link below will open an editable PDF document with a checklist of features to review. This checklist represents the best recommended features and design sizes to use in your model design before attempting to 3D print your protein model.
Creating an .stl File
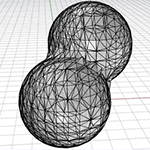
Once you are happy with your model design and have reviewed the model design checklist, you are ready to export your Jmol design as an STereoLithography (.stl) File, which contains the 3d triangle mesh information used by all 3d printers.
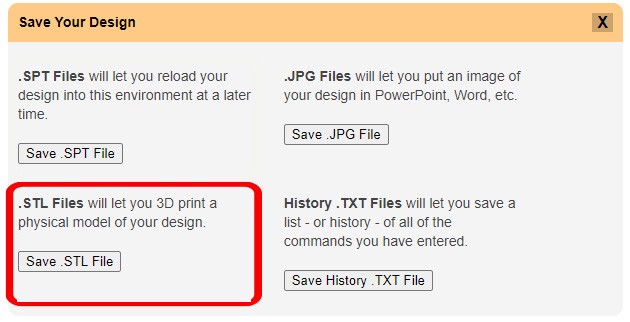
To save a .stl file in the CBM's Jmol User Design Environment, click the orange "Save Your Design" button to expand the save menu and then click the "Save .STL File" button.
Note: Your filename must include the extension ".stl" to save properly. Also note that depending on your browser, you may need to press the "OK" button twice to initiate the save/download.
Note: .STL files exported for 3D printing can be quite large. If your browser freezes or you receive an error when attempting to export an STL file from the JUDE Web Page, click on the section below for a work-around.
Java-Based Jmol: Saving Large STL FilesStart by saving your design as a Script (.spt) File in the Jmol User Design Environment. Click the orange "Save Your Design" button to expand the save menu and then click the "Save .SPT File" button.
Next, you will need the Java-based version of Jmol. It can be downloaded as a .zip file directly from the CBM, or you can view the full program details and version history at SourceForge.com.
Note that you will also need Java installed on your computer in order to run the Java-based version of Jmol. Click here to download Java for free.
Once downloaded, you will need to open the .zip file and copy the two files inside ("jmol.jar" and "jmol.bat") to your local hard drive. Double clicking on the .bat file for Windows or the .jar file for Mac will launch Jmol, initially showing an empty black screen.
Note: Some Mac users may receive an error, saying Jmol.jar is from an "Unidentified Developer". To allow your Mac to run Jmol.jar, you will need to open System Preferences > Security & Privacy, and then click the "Open Anyway" button near the bottom of the window.
Next, drag and drop your saved Script (.spt) File into the Jmol Display Window, which should then open your molecule design as it appeared in the JUDE Web Page.
Last, right click anywhere in the Jmol Display Window and select File > Export > Export STL 3D Model from the menu that appears. The Java-based version of Jmol has access to far more memory than the JUDE Web Page, and so should be able to successfully create STL files of even very large or complicated protein designs.

Printing Your Model Yourself
Once you are happy with your protein model design and have created your .stl file, you are ready to 3D print your model! There are two main options for this, each with pros and cons:
3D Print the Model Yourself
- Lower cost (often only a few dollars)
- Quick turnaround with no shipping time
- Direct control over settings and options
- Requires 3D printing experience and skill
- Model surface quality not as good
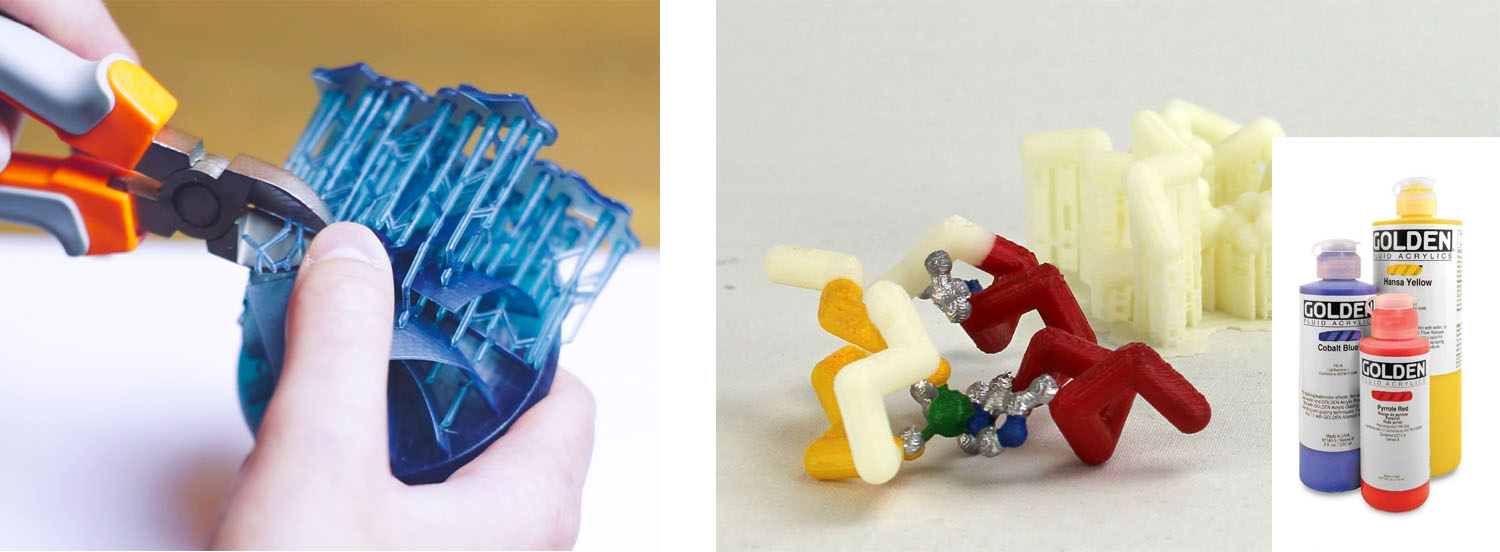
- Involves removing support material after building
- Requires painting/coloring
Pay Someone Else to 3D Print the Model
- Easy to upload and order
- No 3D printing experience or skill needed
- Very good model surface quality
- Higher cost (often $100+)
- Less control over the process
- Requires more time to ship and receive
- Requires painting/coloring
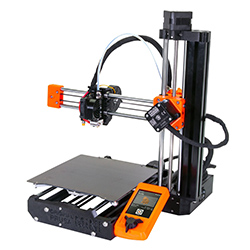
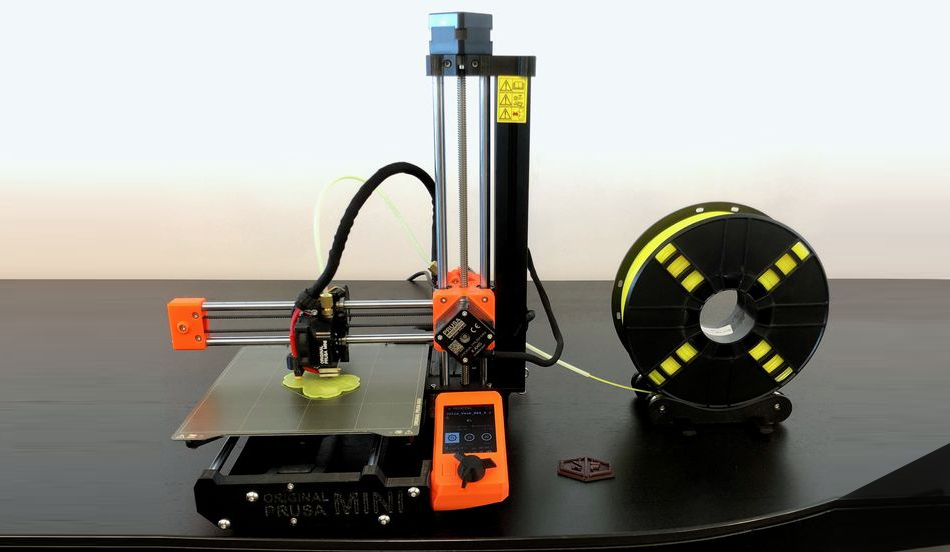
Using Plastic FDM Printing
If you choose to 3D print your model yourself, you will most likely use a Fused Deposition Modeling (FDM) 3D Printer similar to the PRUSA Mini 3D Printer shown to the right. FDM 3D printers push plastic filament through a heated nozzle to build 3D objects one layer at a time.
Many schools have access to FDM 3D printers, and they can also be found in many public libraries, college campuses and community maker spaces. Below are two introductory videos that will provide some background on FDM 3D printing.
Overview of the FDM 3D Printing Process
Using an FDM 3D printer requires experience and practice, so you should plan plenty of time into your modeling project timeline for errors, reprints and learning. While each 3D printer is unique, the overall process for FDM 3D Printing will remain the same:
- Import your .stl file into the program that runs your 3D printer (often referred to as a "slicer" program).
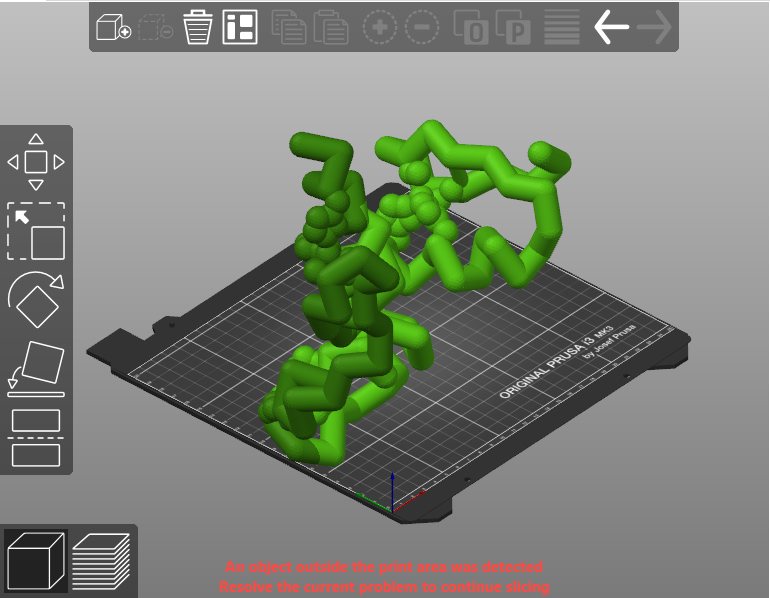
- Scale, orient and position your model in the slicer program. You will want to avoid scaling your model too large, as it will take a very long time to build - or too small, as it will likely not be strong enough to survive the printing and clean-up process.

- Add build supports as needed. Most slicer programs can generate these supports automatically anywhere that your model has overhangs or gaps.
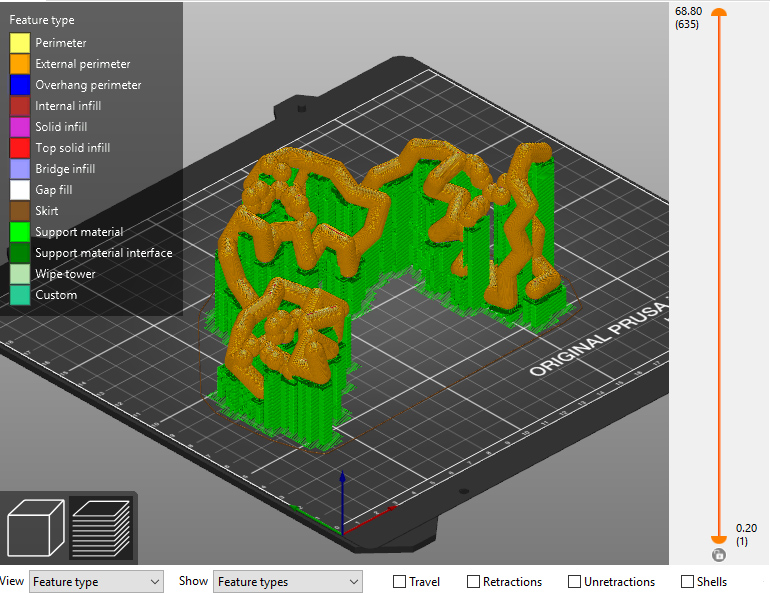
- Export a .gcode file and send it to your 3D printer to build the model.
- Remove the supports and paint the model. We recommend printing your model with white plastic filament and then painting it with standard acrylic paints, such as Golden Brand Fluid Acrylics. We also recommend sealing painted models with a Spray on Clear Coat to help prevent chipping or fading.
Trouble Shooting Resources for FDM Printing
3D Printing takes time and practice, so if this is your first time trying to 3D print a protein model, we highly recommend planning extra time to experiment, learn and trouble shoot. Below are a few trouble shooting resources and suggestions.
- If f your print quality does not look good, we recommend exploring Simplify3D's Troubleshooting Guide. This comprehensive guide will help you dial in your 3D printer and get the best print quality possible.
- If you have trouble with support material successfully holding up your model as it prints, we recommend thickening the display formats in Jmol (ie: backbone 2.5 instead of 1.25, and bonds/struts 1.5 instead of 0.75). You may also want to focus on a smaller portion of your protein structure, allowing you to scale the entire model larger in your slicer program. If the backbone gets too small/thin or your model has too many gaps/overhangs, even the best FDM printers will have trouble creating reliable supports.
- Take advantage of people who may already have some experience with 3D printing. Perhaps there is a 3D printing club that you can ask for advice, or an educator or community member who has used 3D printing in the past. Don't be afraid to ask questions!
- Don't let perfection be the enemy of good. An FDM 3D printed model is never going to match the quality of a commercial-grade 3D printer. But even if your model does not print perfectly, it can still help you tell your molecular story. The process of designing and printing your model is where the real learning happens.
Paying Someone Else to Print Your Model
The second option for 3D printing your model is simply to pay someone else to do it for you. You can reach out to 3D printing experts in your community, such as tech departments at schools, libraries or local maker spaces, or use one of several well established online 3D print services, such as Shapeways, Craftcloud or Sculpteo
For the past several years, the CBM has predominantly used Shapeways 3D print service. Shapeways is easy to use, has very reasonable prices, and usually a quick turnaround.
Overview of the Shapeways Process
Using Shapeways to 3D print your model can be quick and convenient. The overall process for 3D printing with Shapeways is:
- Upload your .stl file to https://www.shapeways.com using the "Get a Quote" button. If it is your first time using Shapeways, you will need to create a user account before uploading any files.
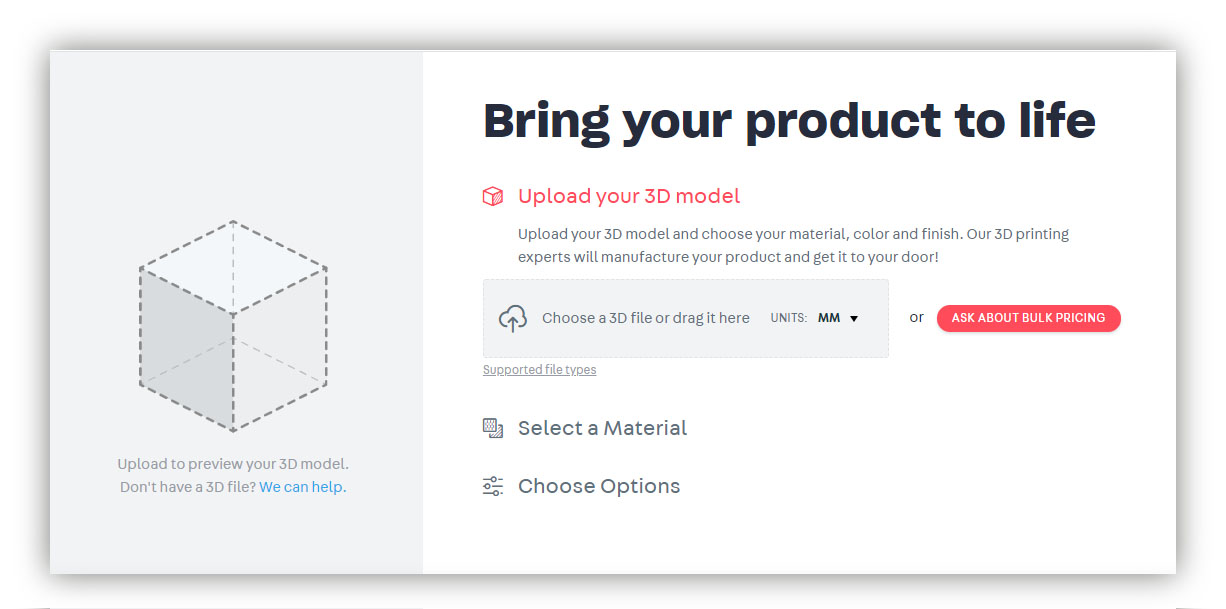
- Scale your model to the desired size. Most proteins will import quite large, defaulting to a scale of 1angstrom = 10.0mm. Generally something closer to 1angstrom = 2.5mm (25% of the original upload size) works better for protein models. You can scale your model directly in Shapeways using the "Resize" button.
Note: Changing the scale/size of your model will also change the price. So you can set a budget for your modeling project and then simply scale your model larger or smaller to fit within that predefined budget.
Note: You will also want to confirm your "Part Count", listed in the bottom left of the page. If you see any number besides "1", it means that something in your model is not connected, and it will 3D print as a separate part from the rest of your model. Check to make sure you have added "support struts" in Jmol, and have manually support struts to any small molecules or nucleic acids (DNA or RNA) in your design.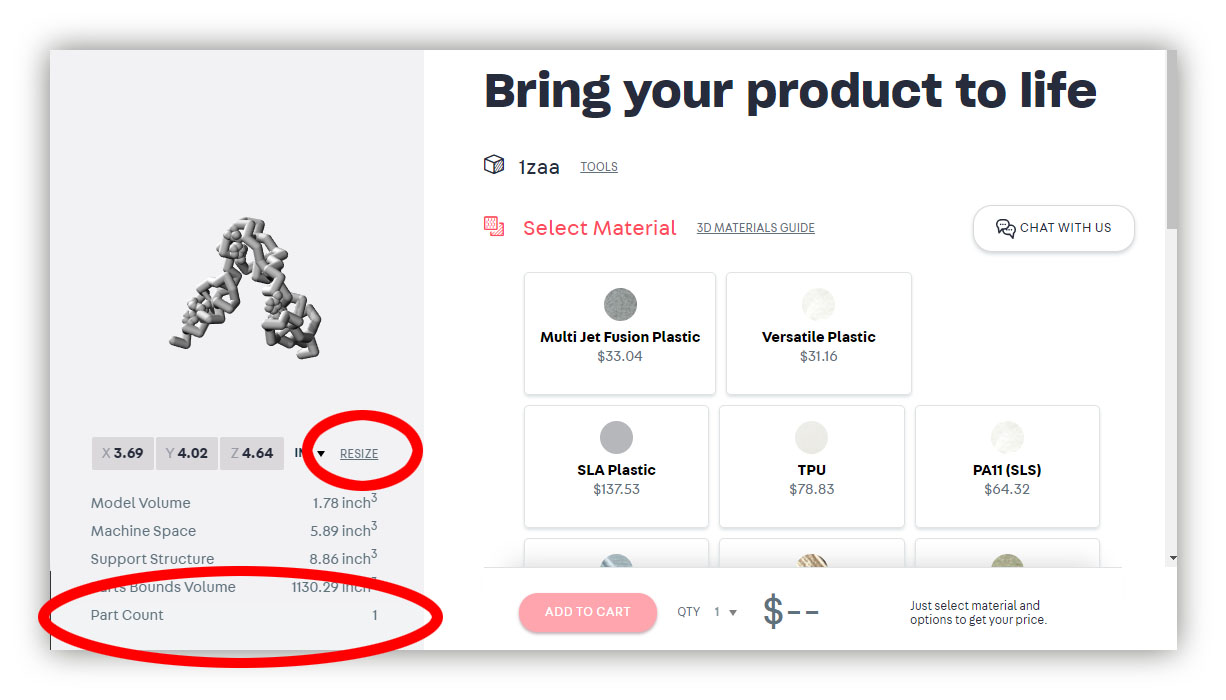
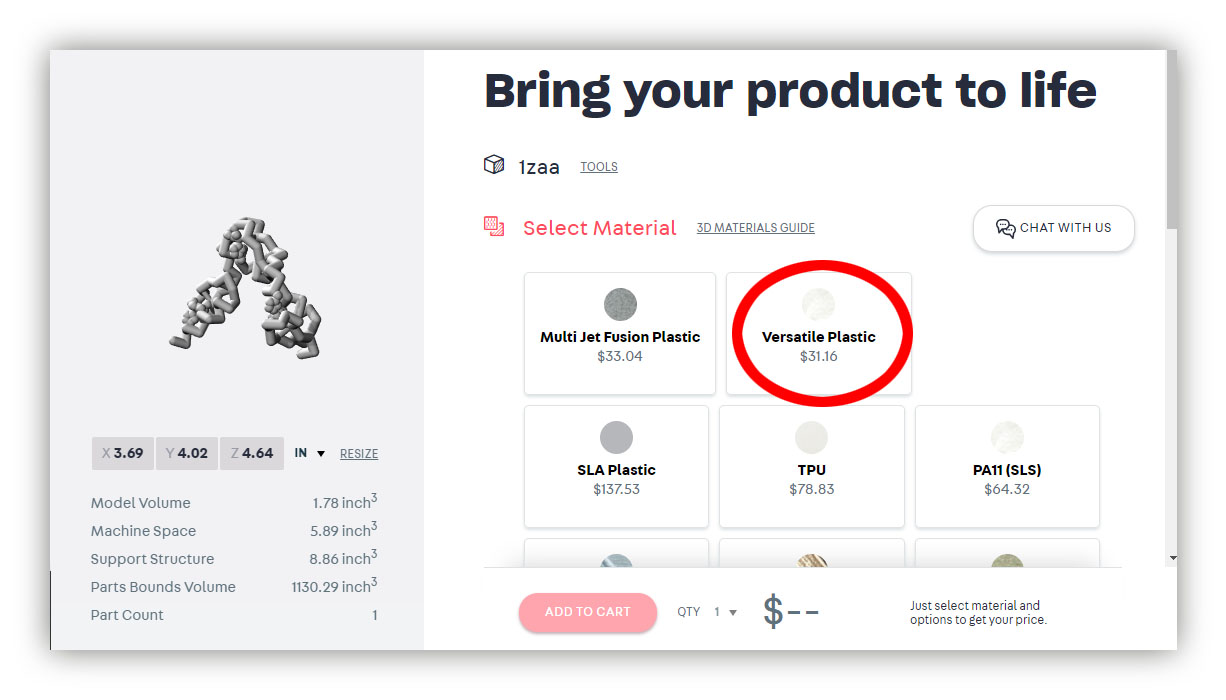
- Select your print material. We recommend "Versatile Plastic", as it is low cost, very sturdy and has an excellent surface finish for painting with acrylic paints.
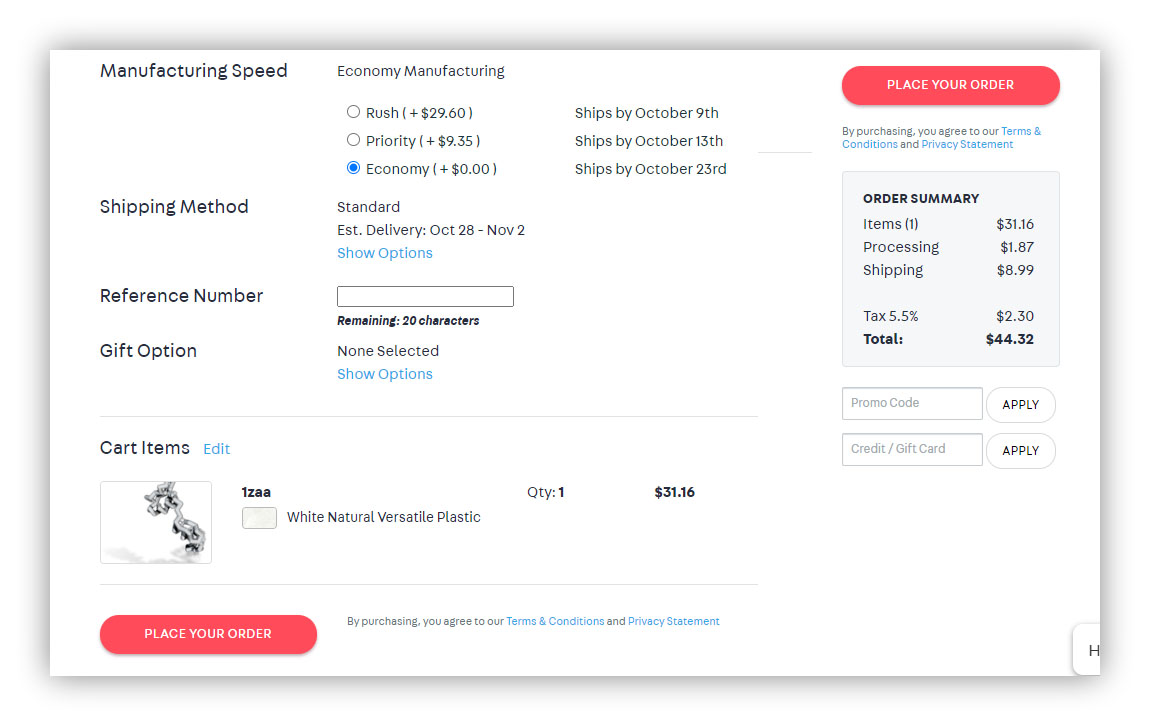
- Once you are happy with the scale and price of your model, you can add it to your cart and check out. You should plan for at least 3-4 weeks for printing and shipping of your model, although it often takes less time. Orders can also be "rushed" for an additional cost.
Conclusion
At this point, you should be able to open molecular structure files in Jmol, manipulate their display formats and colors, focus on the specific region of the structure you think will help tell your molecular story, add sidechains, bonds and small molecules, and create .stl files to 3D print your design.
We wish you luck with your modeling projects, and would love to see photos of whatever you create! Good luck. . . and happy modeling.